
Starlink Bypass Mode & MikroTik Integration: The Definitive Commercial Setup Guide
How to bypass the default consumer Starlink router, eliminate Double-NAT, and assign public IP routing to enterprise firewalls.

Telecommunications Engineer
Senior Network Solutions Architect, Natelad Agency
Executive & Architectural Key Takeaways
- ✓The standard Starlink WiFi router introduces double-NAT, breaking IPSec VPNs and VoIP session initiation.
- ✓Activating Bypass Mode disables the internal router and DHCP server, passing raw WAN Ethernet directly to your firewall.
- ✓Static routing rules must be added to access the Starlink dish management telemetry page (192.168.100.1) from your corporate LAN.
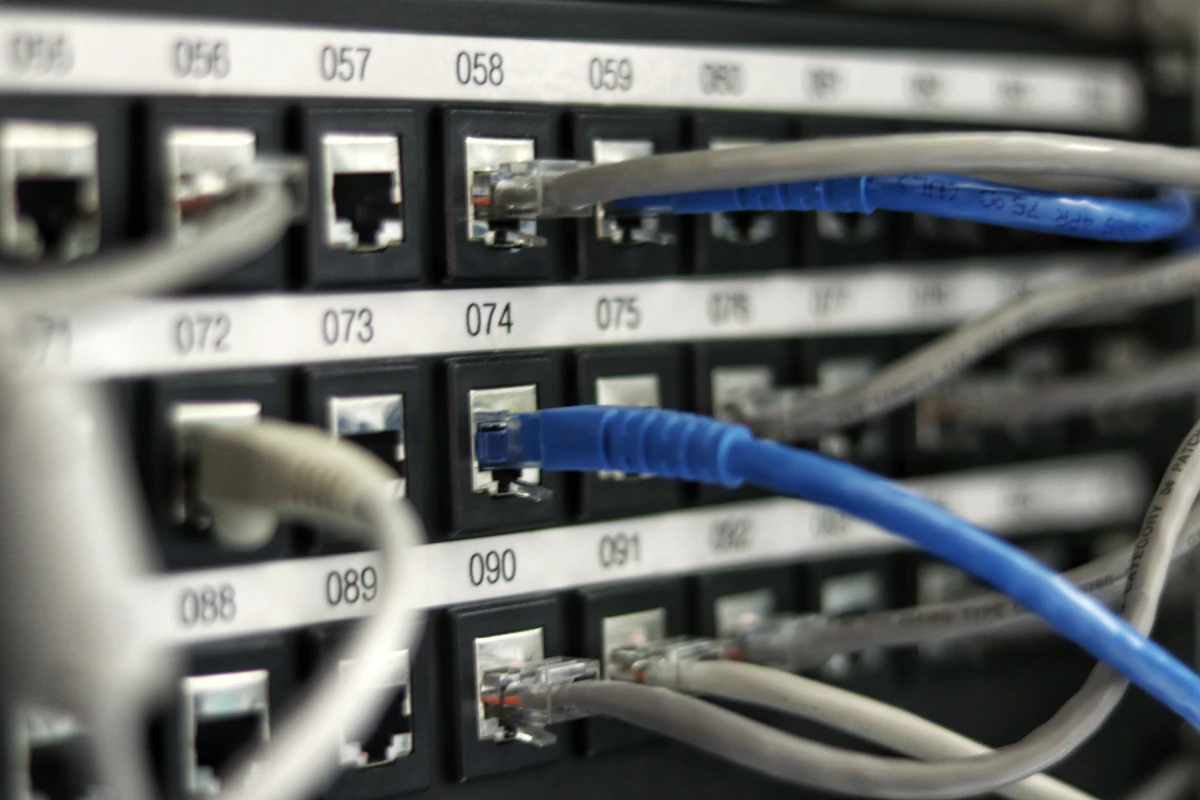
- ✓Shielded Cat6A cabling with surge arrestors is mandatory to prevent ESD damage during summer lightning storms.
- 01.Why Enterprise Deployments Must Eliminate the Starlink Wi-Fi Router
- 02.RouterOS Configuration for Dish Telemetry and DHCP Client
- 03.Surge Protection & Mechanical Rooftop Mounts
Why Enterprise Deployments Must Eliminate the Starlink Wi-Fi Router
Starlink has revolutionized internet access across commercial farms, mining outposts, and urban offices. However, deploying the standard consumer Starlink router in a corporate setting introduces severe architectural bottlenecks.
The default router implements Carrier-Grade NAT (CGNAT) combined with internal RFC1918 NAT, creating a double-NAT environment. This prevents incoming VPN tunnels, breaks VoIP SIP registration, and prevents fine-grained firewall traffic filtering.
Enabling Bypass Mode turns the Starlink dish into a transparent Layer 2 modem, delegating all routing, DHCP, VLAN segmentation, and firewalling to an enterprise gateway like MikroTik or FortiGate.
RouterOS Configuration for Dish Telemetry and DHCP Client
Once Bypass Mode is toggled inside the Starlink mobile application, connect the Starlink Ethernet adapter directly to ether1 of your MikroTik router. Configure the WAN DHCP client and add a static route to maintain access to the dish health metrics (192.168.100.1):
# Configure DHCP Client on WAN interface
/ip dhcp-client
add interface=ether1-STARLINK use-peer-dns=no use-peer-ntp=yes add-default-route=yes comment="Starlink-WAN"

# Configure Static Route to access Starlink Telemetry Dashboard (192.168.100.1)
/ip route
add dst-address=192.168.100.1/32 gateway=ether1-STARLINK comment="Starlink-Dish-App-Access"

# NAT Masquerade rule for Outgoing WAN Traffic
/ip firewall nat
add chain=srcnat out-interface=ether1-STARLINK action=masquerade comment="NAT-Starlink-Egress"Surge Protection & Mechanical Rooftop Mounts
In regions subject to severe electrical storms, direct rooftop dish installations require specialized surge mitigation. Always install an in-line Ethernet surge arrestor grounded to the building earth grid before the cable enters the server room patch panel.
Additionally, use high-grade galvanized non-penetrating roof mounts or heavy-duty wall brackets to withstand wind shear in exposed elevated locations.
Telecommunications Engineer
Senior Network Solutions Architect at Natelad Agency. Architecting mission-critical digital systems, resilient infrastructure, and security frameworks for enterprises worldwide.
Related Production Blueprints
View All Blueprints →Engineering Resilient Multi-WAN Networks: Combining Starlink Satellites with Dedicated Fibre
How we design mission-critical telecommunication grids for remote mining, banking, and industrial facilities by pairing high-throughput terrestrial fibre with low-earth-orbit (LEO) satellite redundancy.
Deploying High-Density Enterprise Wi-Fi 6 & 7: Ubiquiti UniFi Architecture
How we design and deploy interference-free Wi-Fi 6/7 corporate networks using Ubiquiti UniFi access points across high-density office complexes and educational institutions.
Implement this architecture with Natelad’s dedicated engineering pods.
Book a technical discovery session with our lead architects to evaluate your infrastructure, review security posture, or scope a new platform sprint.